Watercolouring with mists
Posted by Chantalle on
Hello Sassy friends!
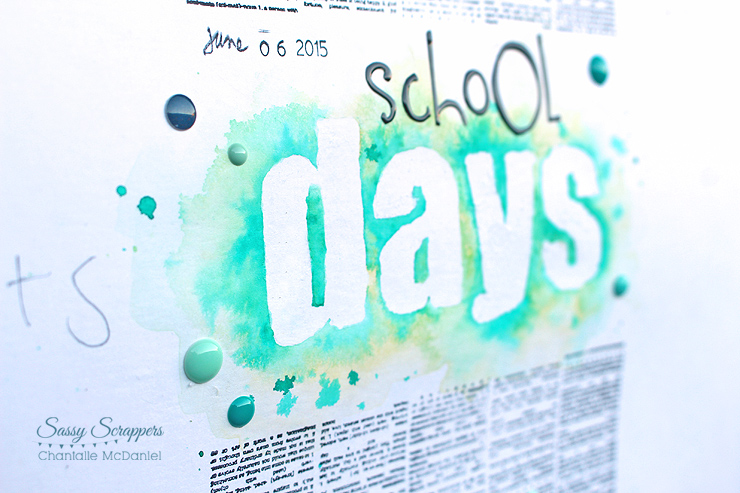
I'm sure you have seen the new recipe challenge that Anita has put together - isn't she amazing at them! It combines the use of Thickers, enamel dots and watercoloring with mists and today I want to share the technique I used on my title in this layout of Miss Mouse catching the late winter sun at school.

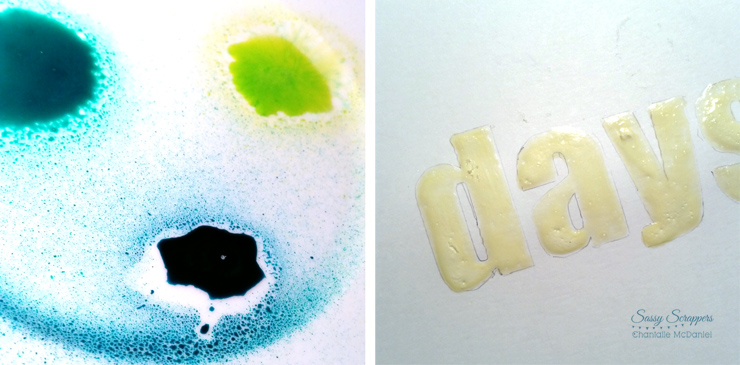
1. To start, I sprayed a shot of three different colours of mist onto a plate. I used Heidi Swapp Color Shine in Citron and Mint and Dylusions in Vibrant Turquoise.
2. When I was away at E2C I learnt about some magic stuff called Masking Fluid. You can grab a bottle of this stuff at an art shop like Riot. I positioned my thickers onto my paper and then used a pencil to trace the shape. I then painted the masking fluid carefully inside the shape. BEWARE the fluid stuffs your paintbrush, so don't use your best one ;)
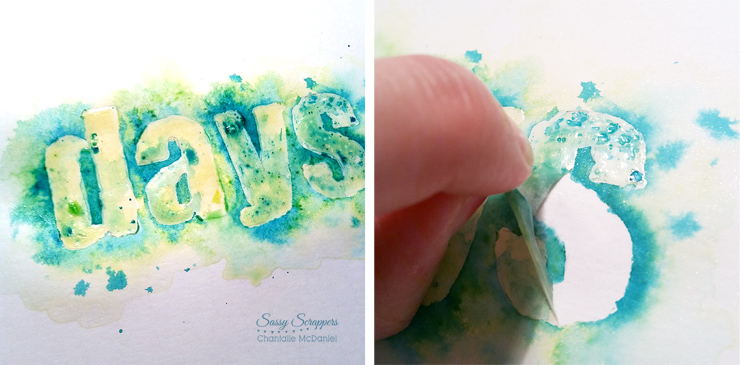
3. Once the fluid was dry, I used a new brush, and watering down the mists sprayed on the plate, I started painting with the lightest colour, adding more water to my brush as I went and painted around the masked area. (You can go over it, it will resist the ink.) The mist is not as fluid as regular watercolour paints, but it does give a bit, especially if you work quickly.
4. Once the painted area was dry, I gently peeled away the masking fluid to reveal the white paper below.
A few enamel dots and text stamping to reinforce the school theme and the simple background has some wow factor.
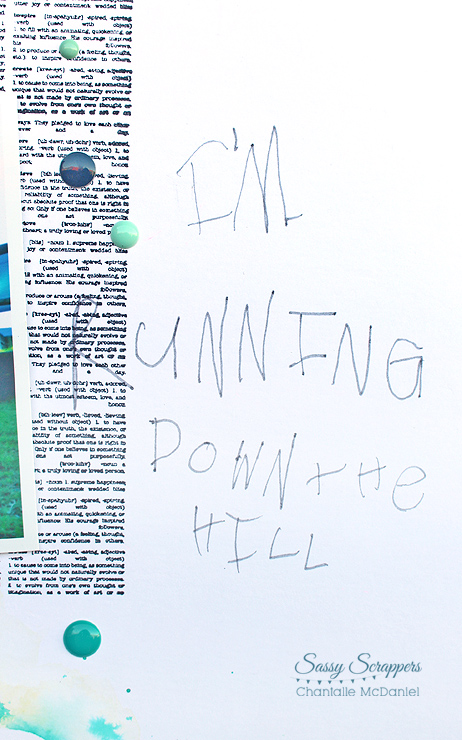
My little poppet loves to write and it's a huge part of who she is at the moment, so I thought it would be good to include journalling, straight from the source!

I hope you might give this idea a try!
Have a great weekend
Chantalle
Create this page with Sassy items:


