Hi There! Thanks for joining me on such a fabulous day.............. It's my birthday today- 33 years young! Unfortunately I am celebrating at work today but here's hoping I get a special delivery throughout the day from Hubby! Welcome to Part 3 of my Wedding Mini Album! You can find Part 1 here
& Part 2 here39. To decorate page 5 of the Album cut a piece 8"X6" from the Prima Something Blue Reception paper. Adhere to the Album page.40. Cut a piece 6"X2" from the Prima Something Blue Announcement paper. Stitch a border along the edges. Adhere vertically left of centre with the pink polka dot pattern facing up.41. Cut a piece 6"X4.5" from some vellum paper. Stitch a border along the edges. Adhere to the left side of the page.42. Adhere the purple Prima Something Blue Chipboard Frame on an angle to the top right corner of the vellum paper.43. Fussy cut the black box in the top left corner from the Prima Something Blue Say Yes paper. Stitch a border along the edges. Use a Prima Something Blue typewriter key paper clip to attach a Prima Something Blue tag. to the back of the black box. Adhere a photo approx 4.5"X3" to the centre of the black box. Adhere the box with foam tape centre to the left side of the page.44. Adhere a Prima Shabby Chic Resin Love word to the bottom left corner of the photo.45. Adhere a Prima Shabby Chic Resin angel to the right side (centre) of the black box.46. Adhere a Prima Something Blue Flair Button beneath the Resin Angel.
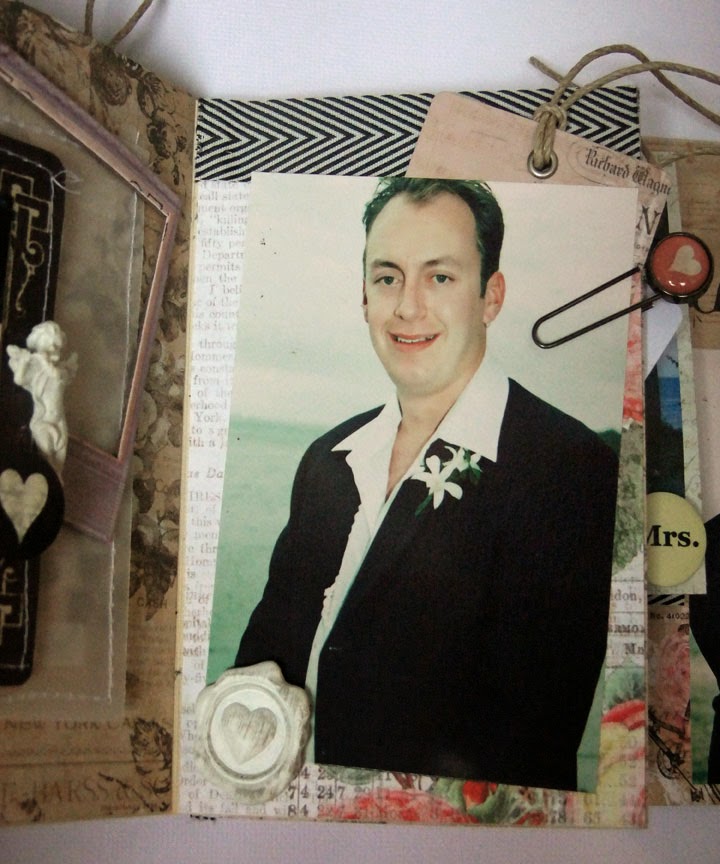
47. To decorate the smaller flap cut a piece 6"X4" from the Prima Something Blue Announcement paper. Adhere to the flap.
48. Adhere a length of black & white ribbon along the top of the flap.
49. Use a photo approx 3.5"X5" portrait. Attach a Prima Something Blue tag using a Prima Something Blue Typewriter Key Paper Clip to the back (top right corner).
50. Adhere the photo on an angle to the centre of the flap.
51. Adhere a Prima Shabby Chic resin seal to the bottom left corner of the photo.
Join me for the last instalment next Tuesday!
A Full materials list will be available at the end of the tutorial
Thanks for Lookng!
Cheers
Shell X


