Project Life Tutorial | Quick Cover Up!
Posted by Leanne on
white paper clip
black colorshine/mist/paint
also needs: machine stitching
step 2. Trim your patterned papers to acquire the images for your filler card.
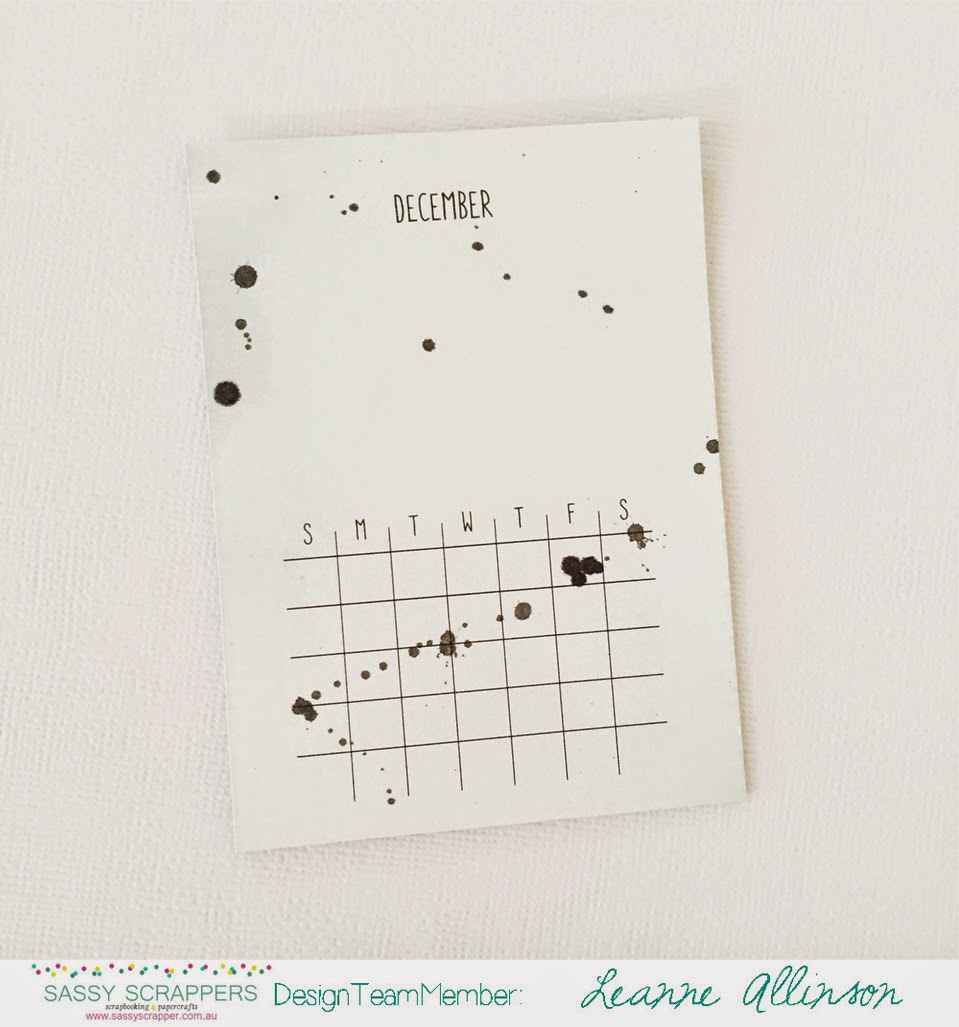
Amy Tangerine pp - 3x4 image block with the December title.
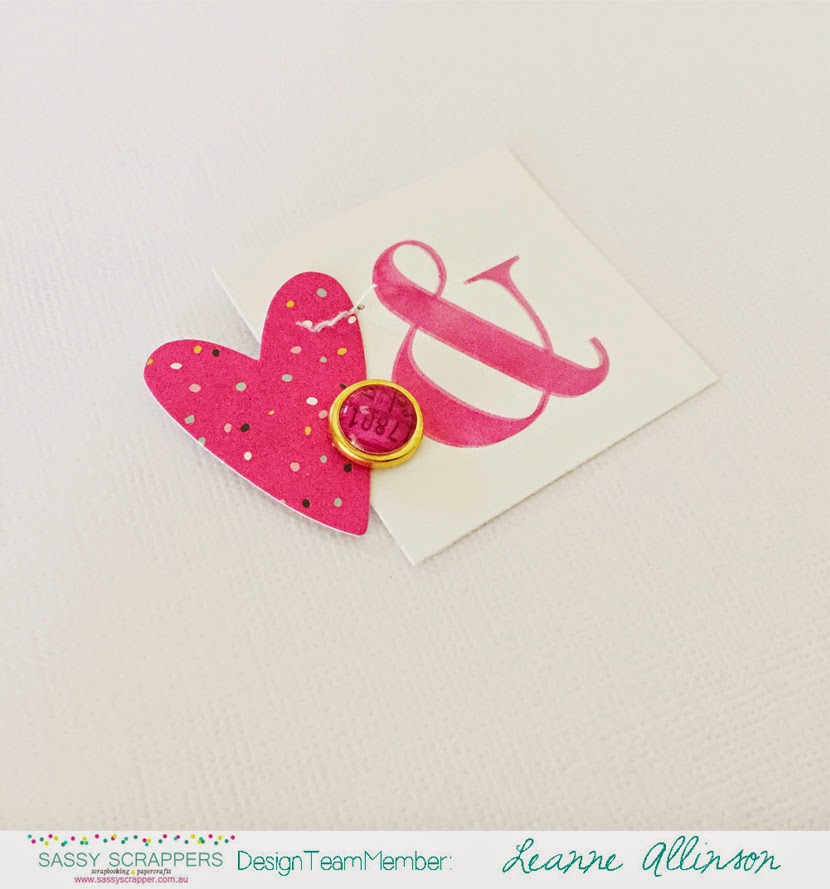
Dear Lizzy pp - 2x2 hot pink ampersand.
step 3. Carefully and lightly flick black colorshine/mist/paint onto the 3x4 card. Put aside to dry.
step 4. Machine stitch one of the hot pink hearts from the Dear Lizzy Ephemera pack to the 2x2 ampersand pp card. Add the brad allowing it to overlap the heart and the ampersand image.
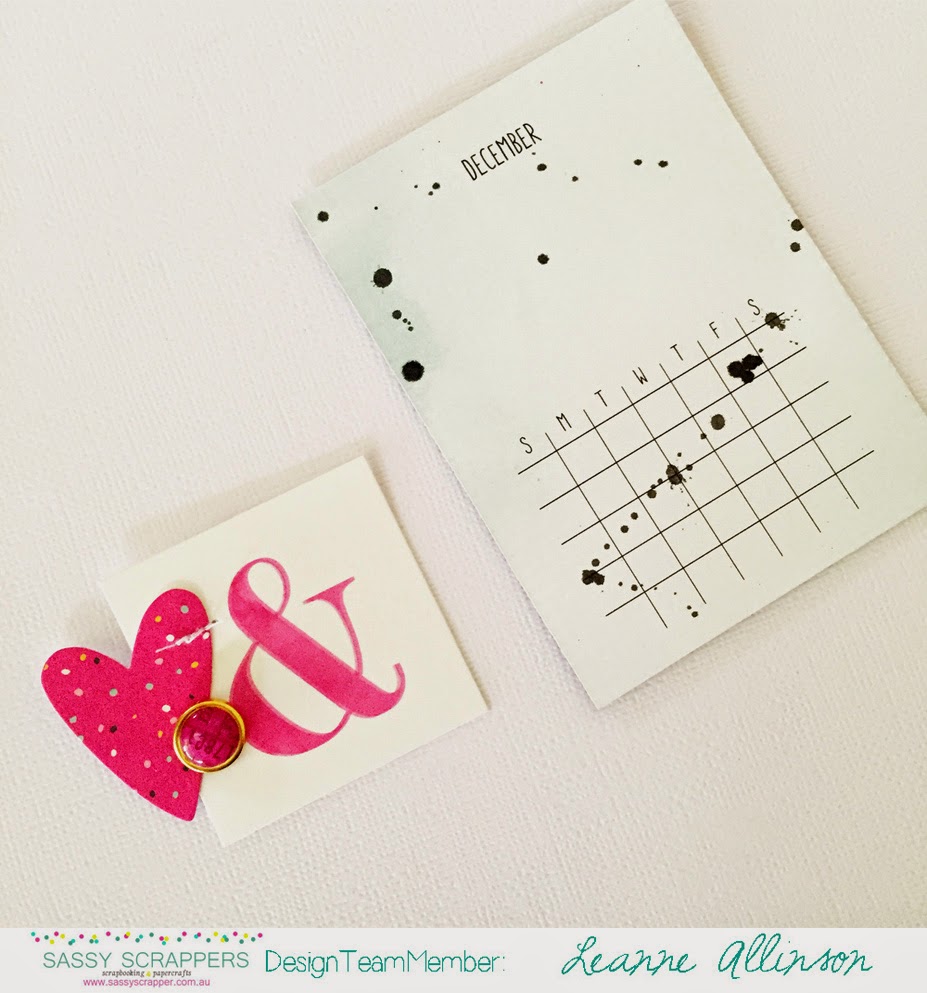
step 5. Put all the elements together! Adhere the ampersand/heart/brad layer to the top of the 3x4 filler card, making sure you cover up the "December" title.
step 6. Add the week's dates on the printed grid using the Prima alphas and a white paper clip at the top, to help secure all the pieces.
Annnnnd it's done! Ten minutes to create and a sweet filler card for your next PL spread. Thanks for visiting..x
Sassy Supplies:


Share this post
- 0 comment
- Tags: filler cards, Leanne Allinson, PL2015, project life, project life tutorial, Sassy Scrappers, tutorial


