Glitz Pumpkin Patch
Posted by Chantalle on
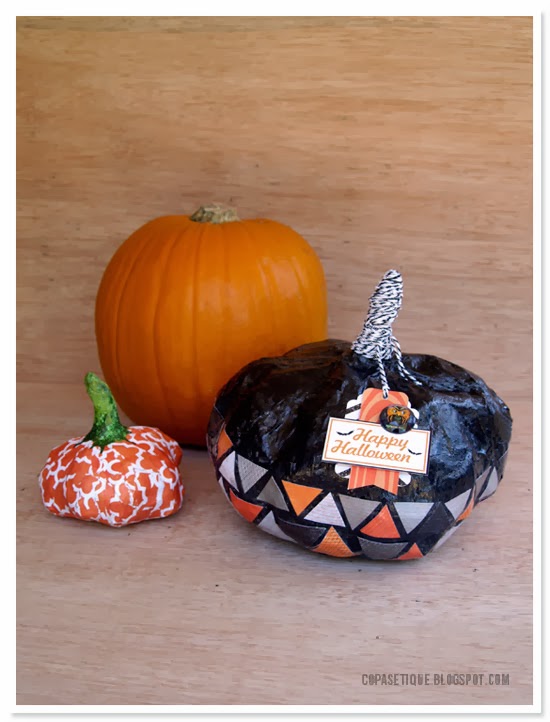
It is surprisingly easy to make your own paper mach pumpkins.
It pretty much involves stuffing a bag of your choice with scrunched up papers, tying it up at the top (which makes a good stem) and then taping it into shape using masking tape.
I watched a video on how to do it. This is the link
All you'll need is the following
Garbage bags
(I used 1x medium bin liner for the larger one and 1x plastic shopping bag for the orange one)
old newspapers/catalogues
masking/wide washi tape
1 x cup plain flour
pinch of salt
1 x cup of water
or
Clag paste
prime with gesso (or similar) once dry
Tips:
Catalogues aren't great to cover the shape with.
Use them to stuff your bag and use newspaper for the outside.
Tear your strips quite thin. Thicker strips are more difficult to shape.
I sprayed the bigger black one with mist and it really didn't dry properly.
I would recommend painting it or using spray paint instead.
I sealed the black one with PVA glue (you could Mod Podge) to prevent the colour coming off.
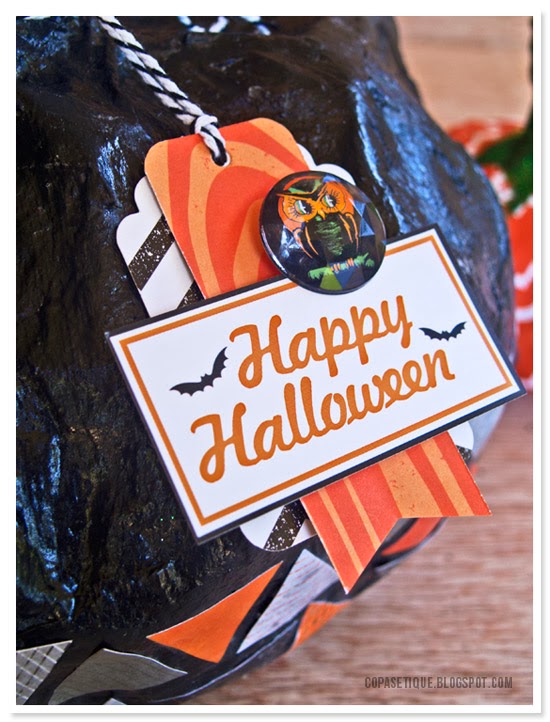
The triangles are cut from a sheet of Raven Triangles. Again, I've used PVA to adhere them to the sides of the pumpkin. Make sure they are saturated with adhesive, so they mould around the lumps and bumps! I've wrapped the stem with twine and made a tag from some bits and pieces from the Raven Title & Accent stickers and a gorgeous Giant Rhinestone
This bitty orange one was covered with a torn sheet of Raven Grey paper. I painted the stem with some acrylic paint and green mists. Once dry, I gave it some sparkle with some glitter glue.
Hopefully this will inspire you to have a go at making your own pumpkins!
The kids will have loads of fun and it won't break the bank.
(Don't forget to link them up for the October challenge!)
Till next time!
Chantalle
Sassy Supplies used:


