Art Journal | Heidi Swapp Hawthorne | Agnus Kasprzak
Posted by Agnus K on
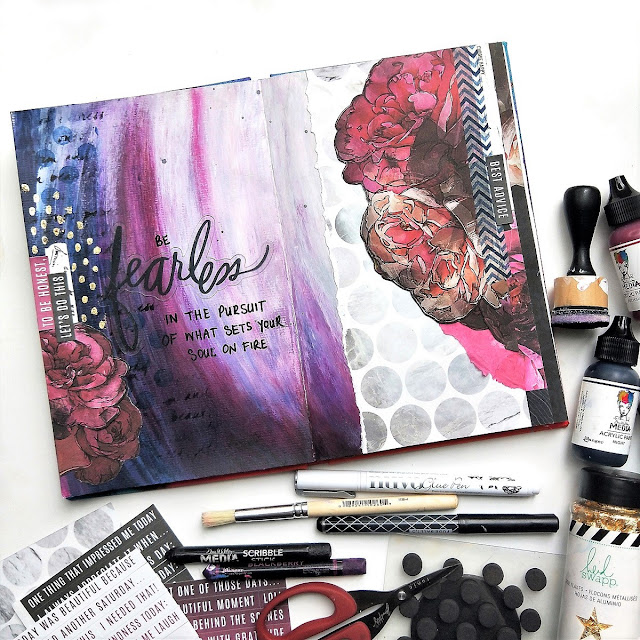
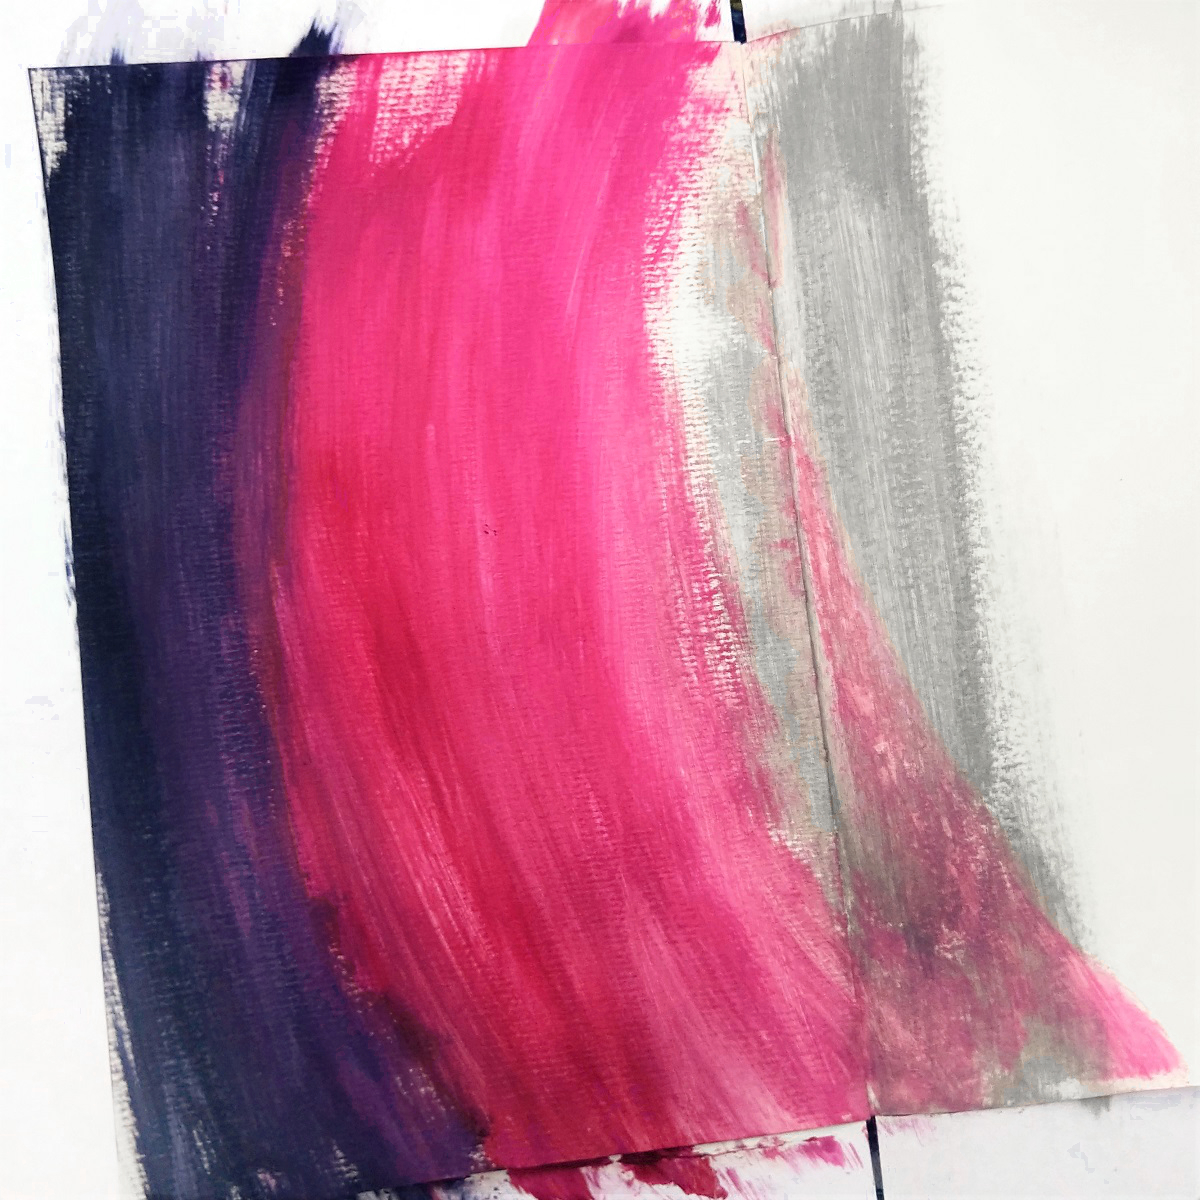
Hi again :) I'm still playing with the awesome Heidi Swapp Hawthorne collection and thought it would be fun to use this range for something a little differenet and create an art journal collage.


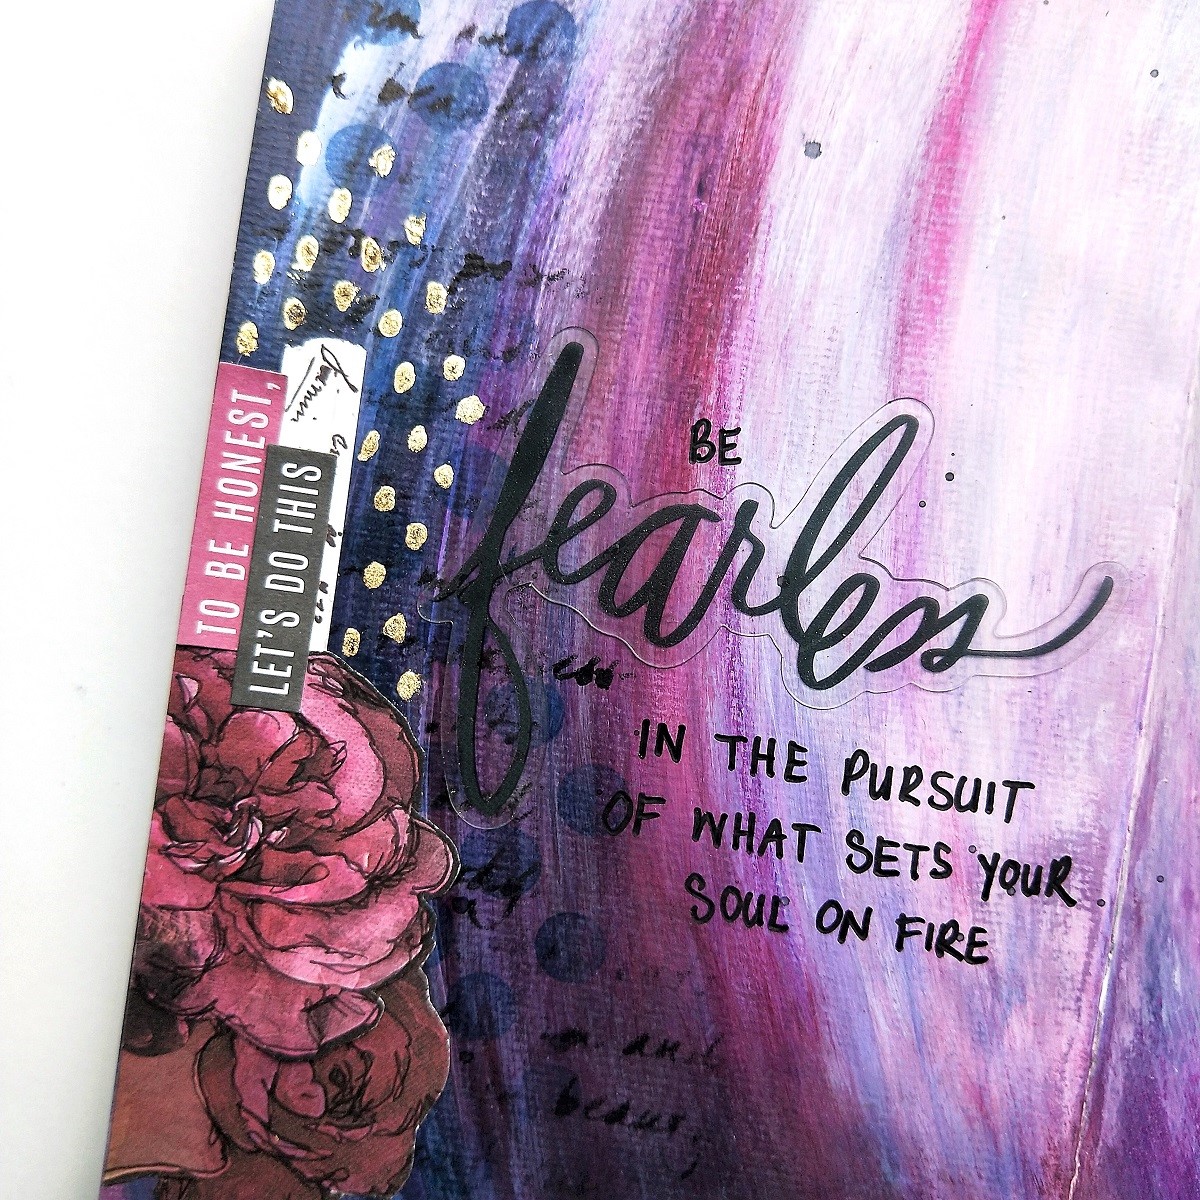
Next I used a fine line marker with rough sketchy strokes to define some of the flowers from the Midnight and Hawthorne patterned papers.

I cut out the images and attached the largest one to my paper layers with washi tape to create a tip-in to hold my journaling as an easy way to add an interactive element to my page that basically consists of a strip of washi tape on two sides of your added items to form a hinge that allows you to view both sides of the item you have added.
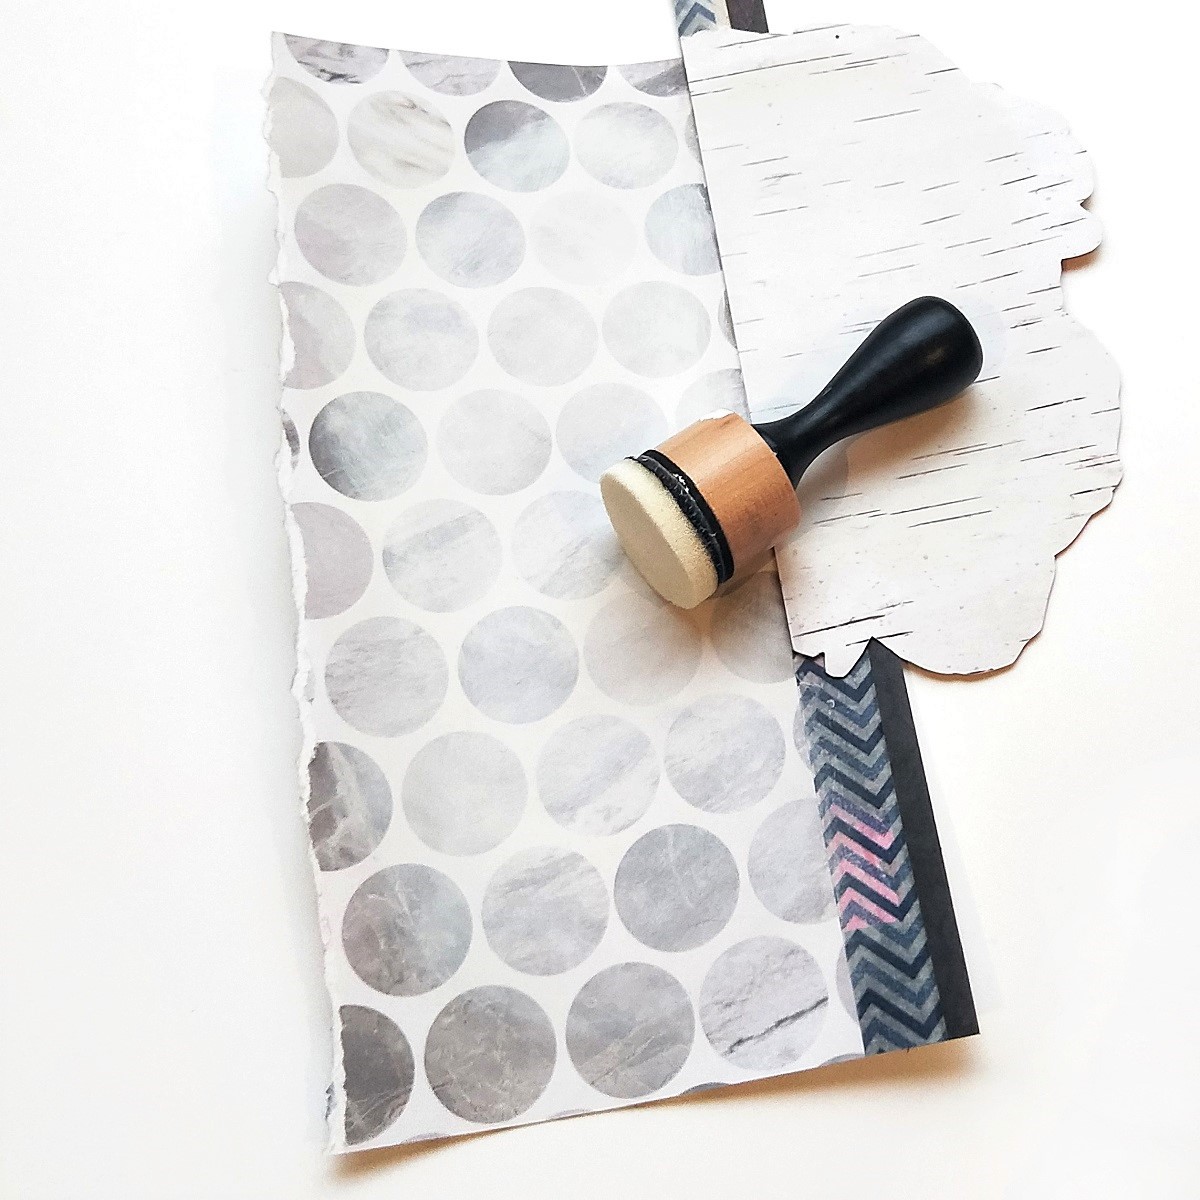
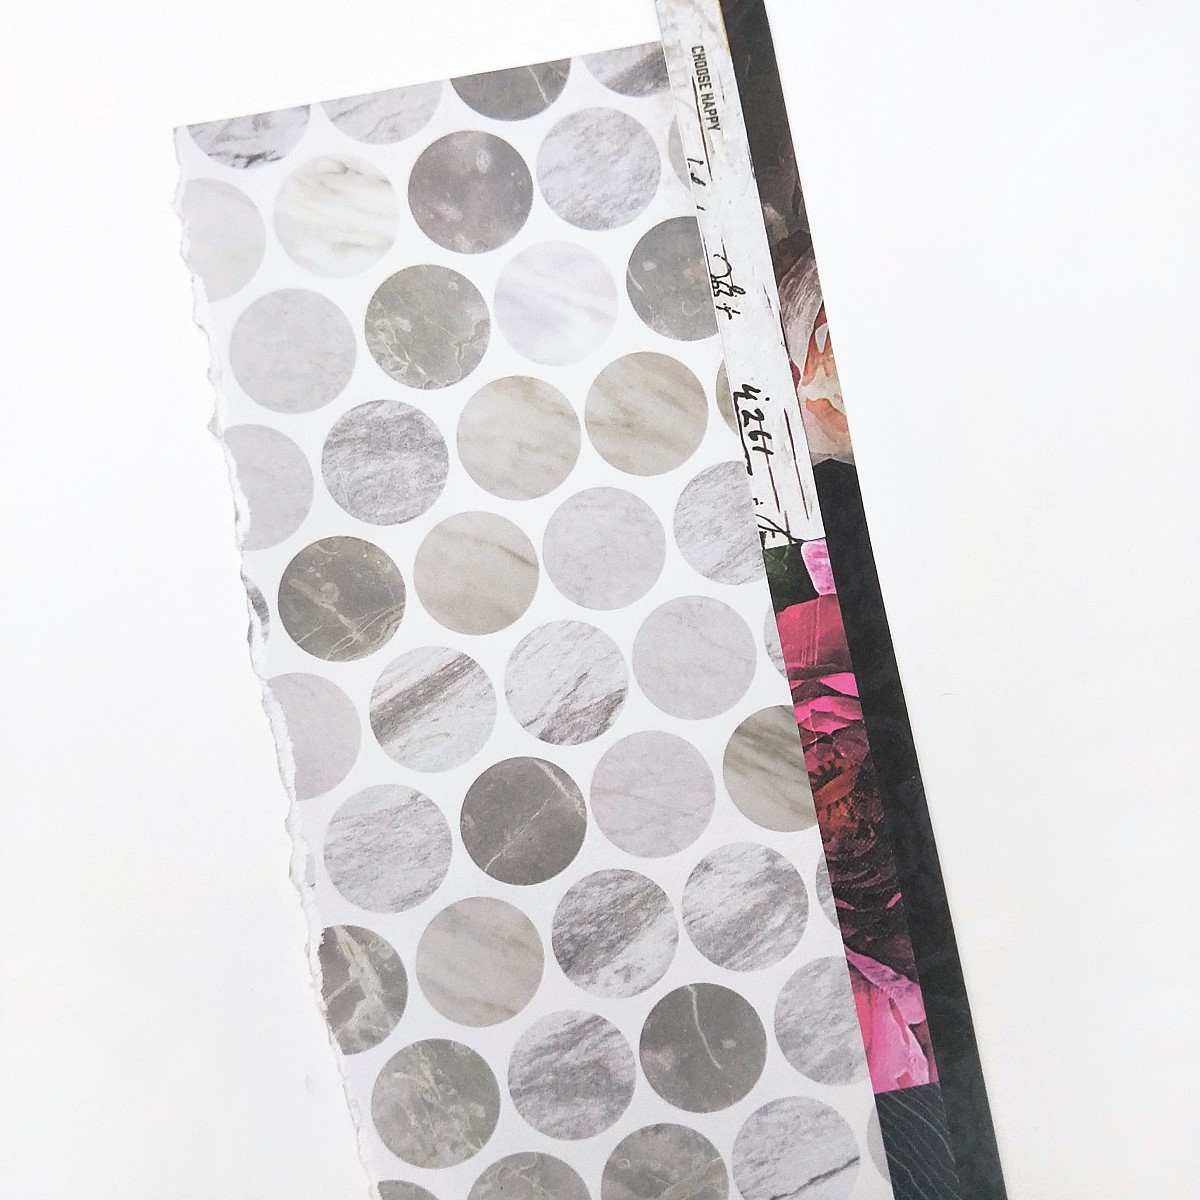
Making off the manufacture's strips with more washi, I used a blending tool to apply a thin coat of gesso over the patterned paper - be sure to keep in mind that patterned paper does not do well with a lot of moisture so be sure to keep all of your paint layers on these pieces fairly light.
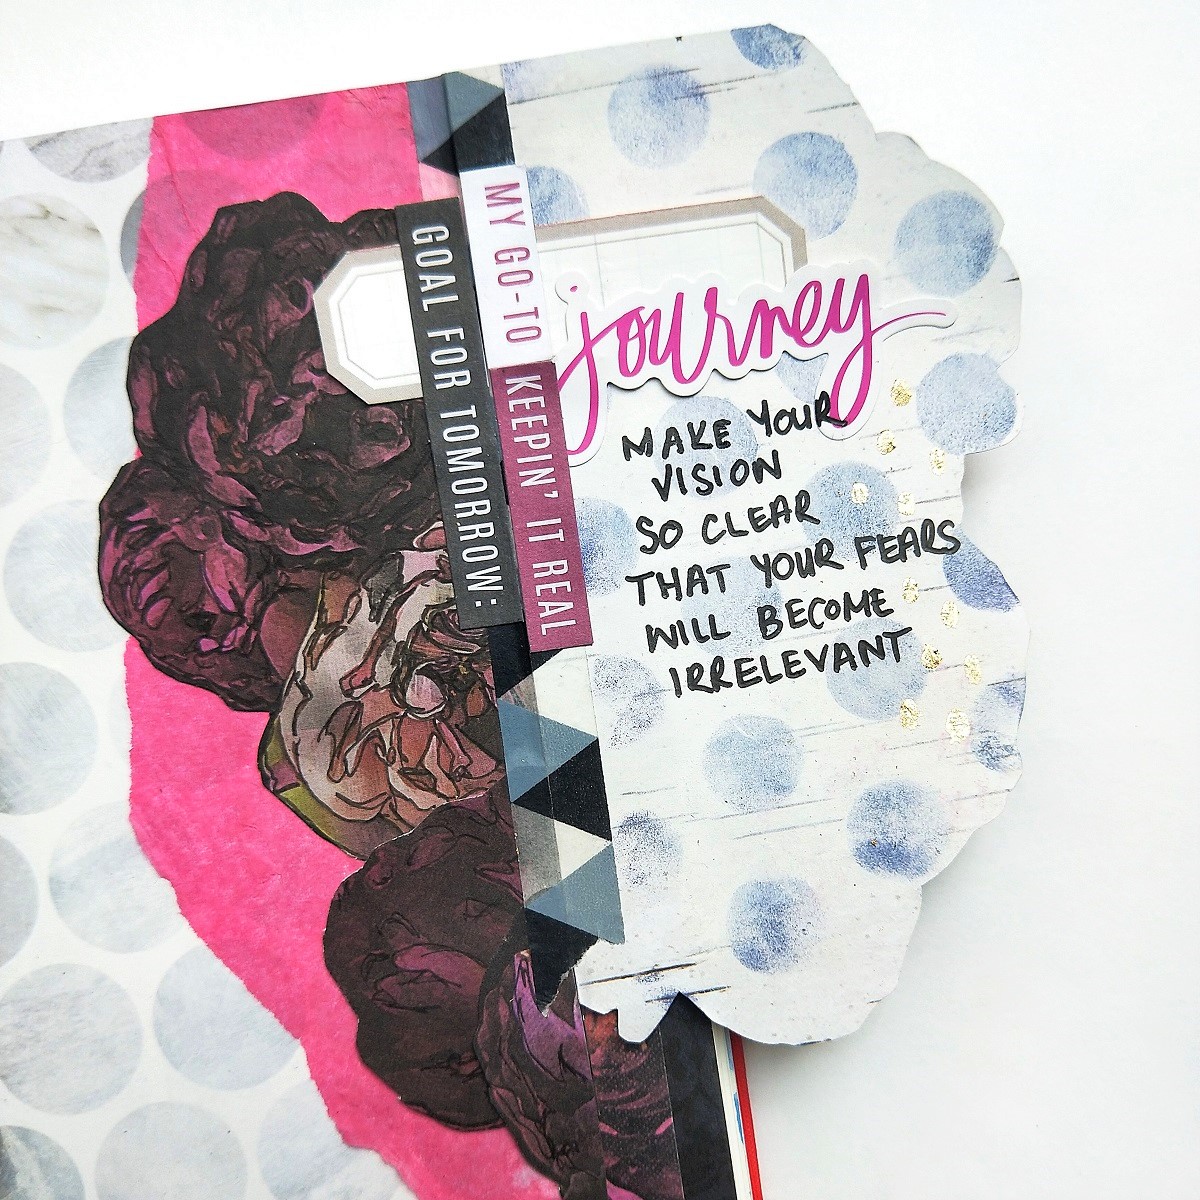
I applied some paint over the reverse side of my tip in tag through a stencil then adhered a torn strip of tissue paper using matte gel medium and added more of the fussy cut floral images over the top with a label and a couple of the word jumble stickers to finish.
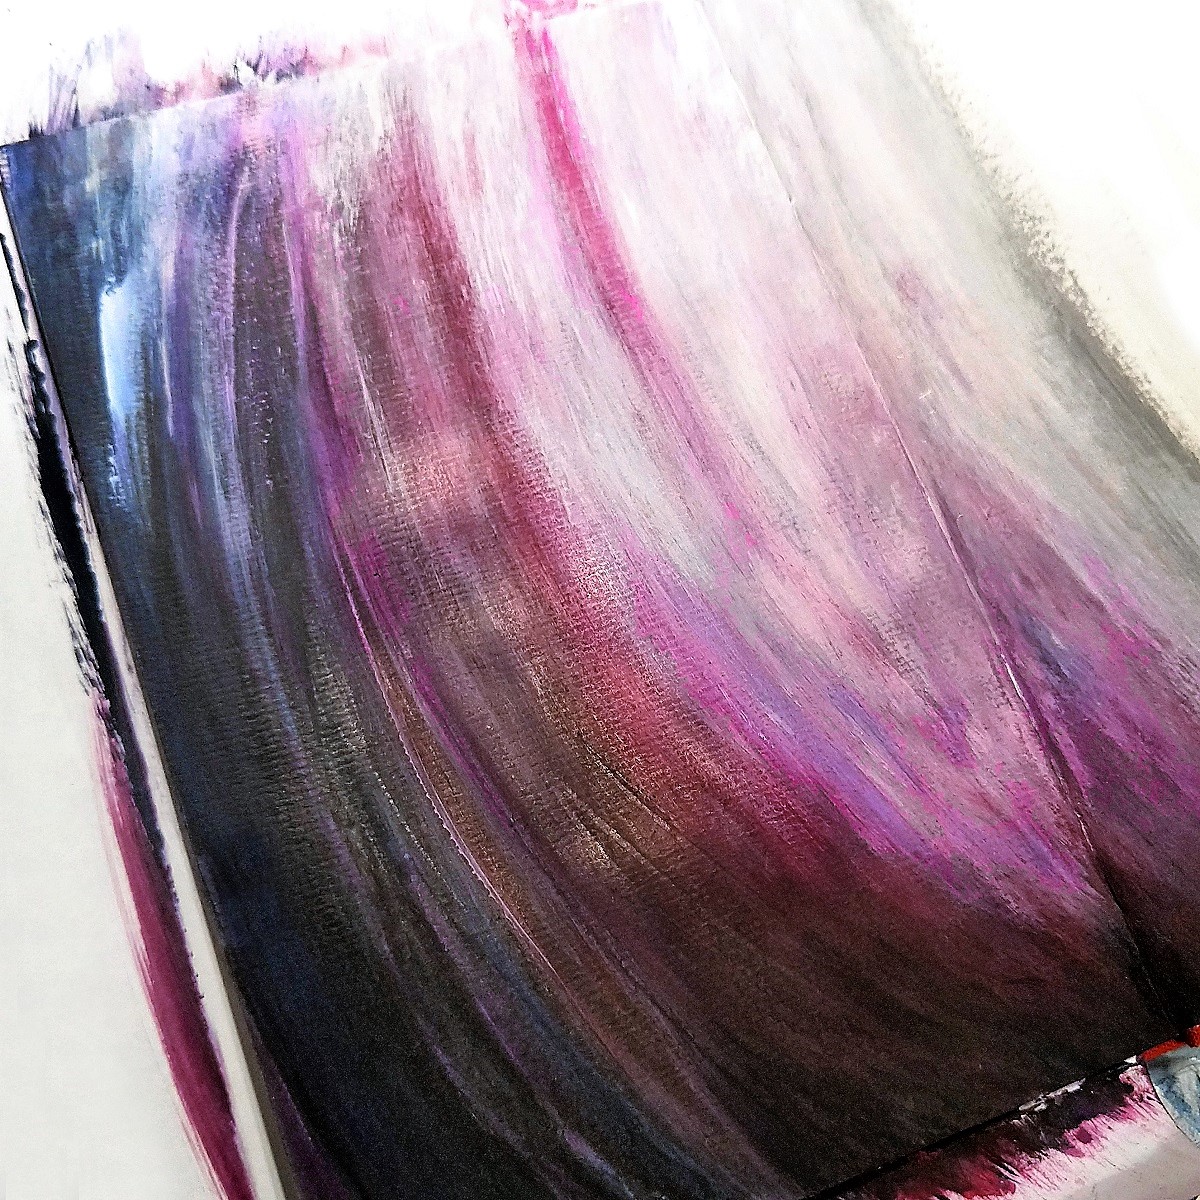
To give the page more depth, I added layers of gesso over the acrylic then removed some of the sections with a baby wipe to reveal the colours underneath and repeated the process of adding more layers and wiping them away until I achieved a look I was happy with. Once the paint was dry I used my scribble sticks to add a layer of rough sketchy strokes that followed the direction of the paint. My previous post showed how well the scribble sticks wok with water, but this time I opted for a dry method.
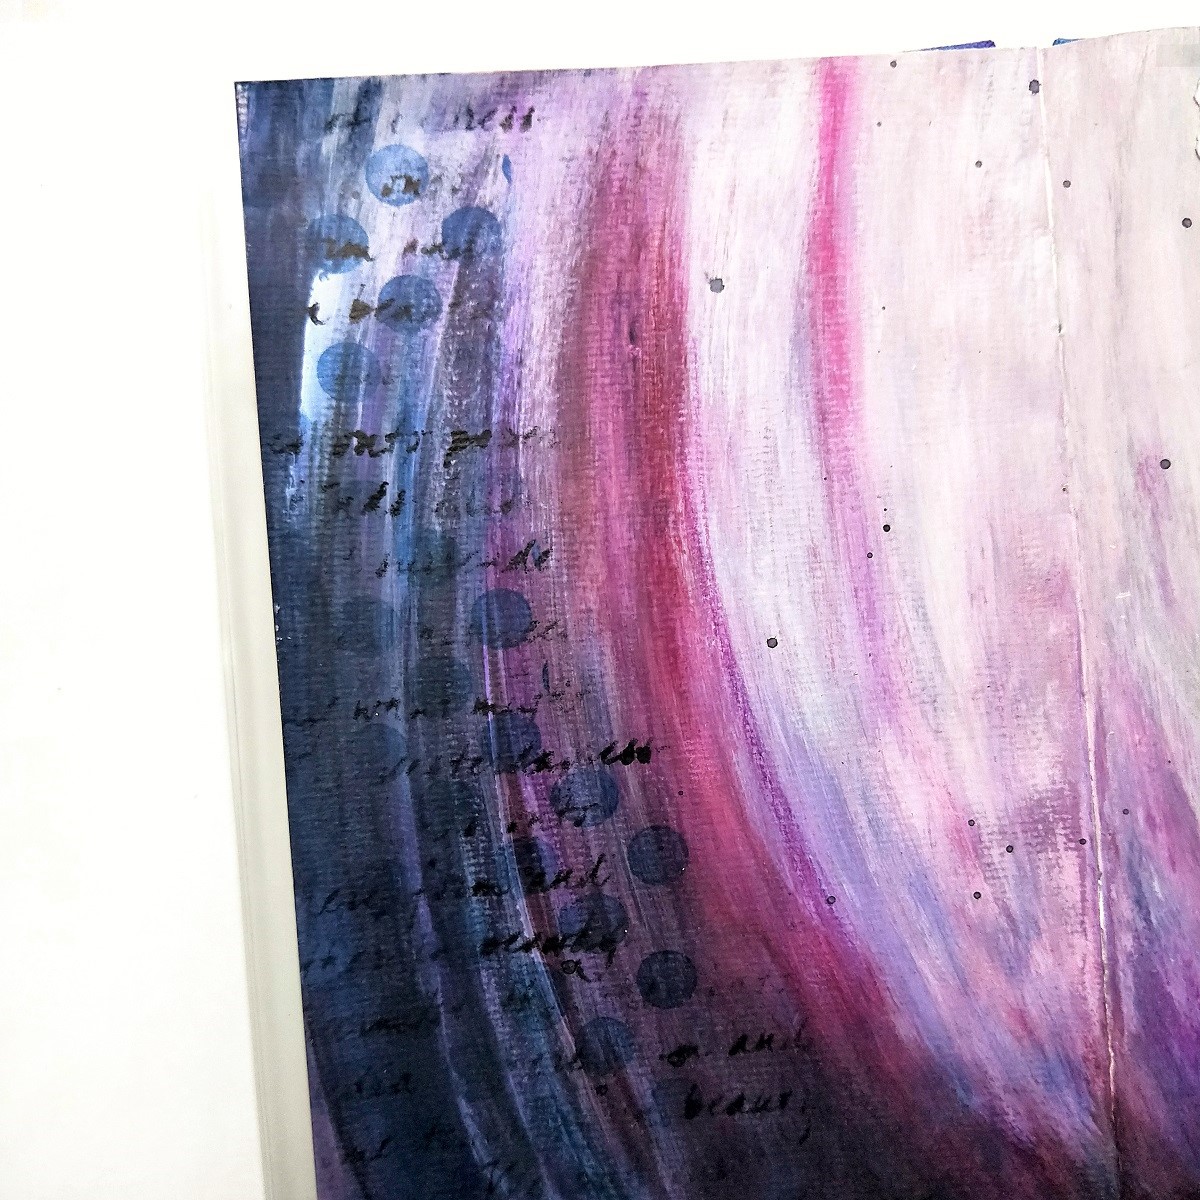
I then applied some detail with a couple of background stamps along the left hand edge of the page, and flicked on some droplets of distress ink then allowed this to dry before using more gel medium to attach my paper layers to the page along with one of the acetate words used to complete a hand written quote.


Share this post
- 0 comment
- Tags: Agnus Kasprzak, Art Journal, Dina Wakley Paints, Hawthrone, Heidi Swapp, mixed media, Paints, paper collage, scribble sticks